Popular posts
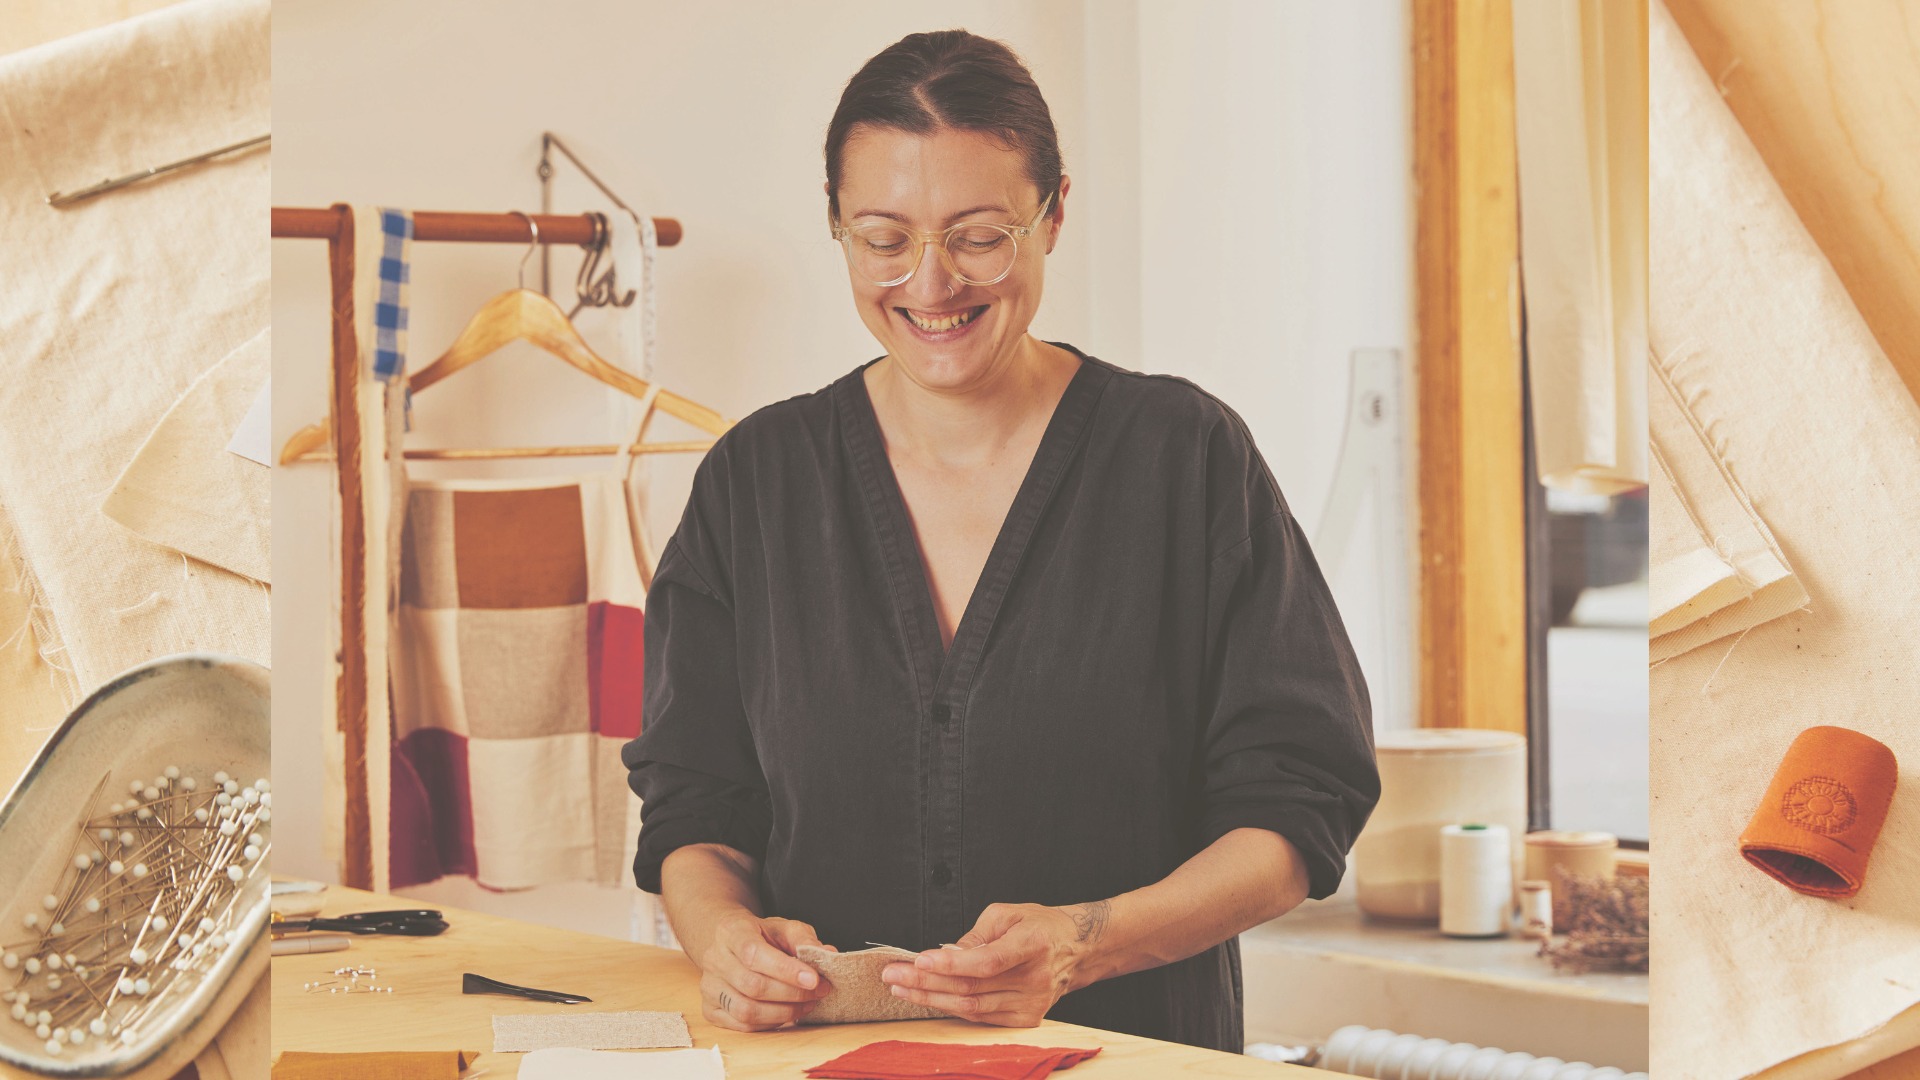
Meet the Maker: Birgitta Helmersson
26 July, 2024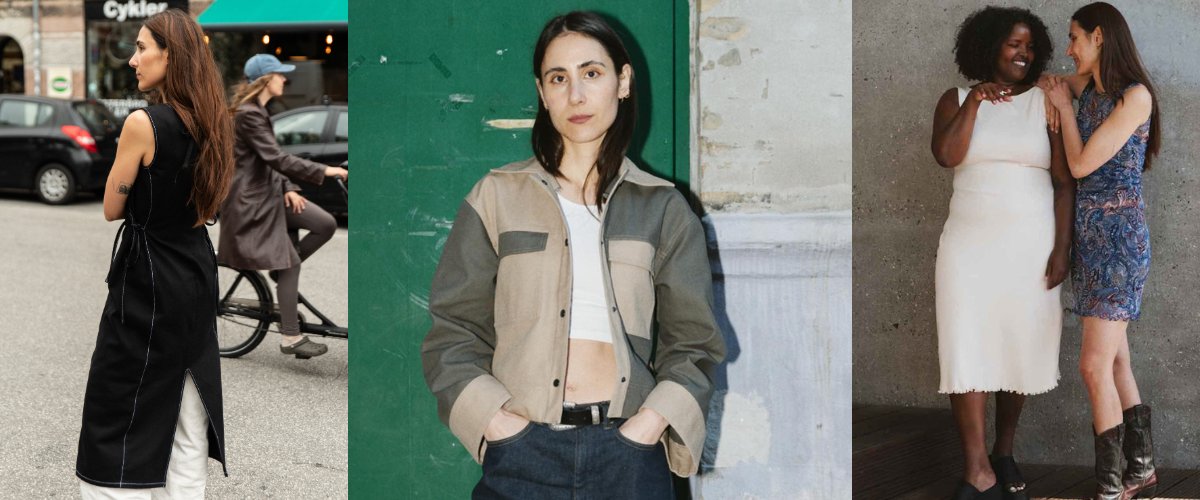
PUFF AND PENCIL AT SEW CONFIDENT
11 July, 2024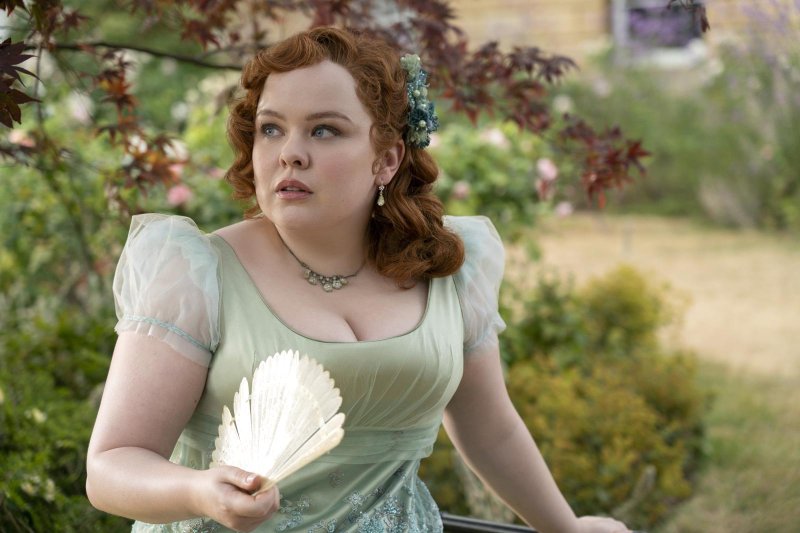
LIBERTY FABRICS X BRIDGERTON COLLECTION
1 June, 2024
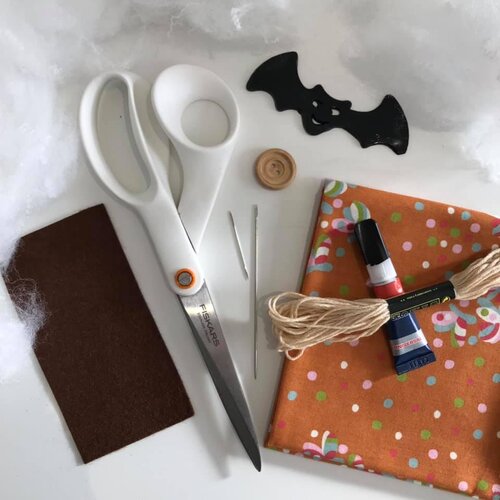
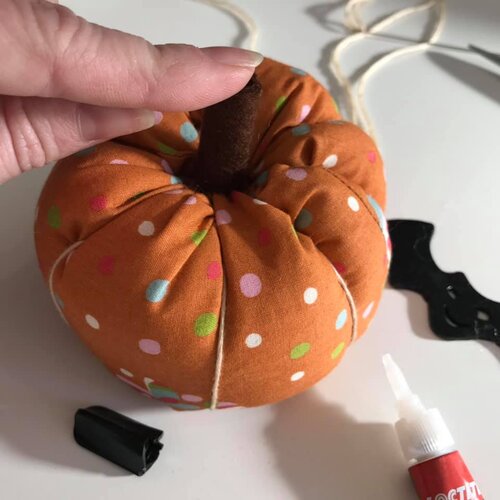
Today we are bringing to you this super cute, quick and easy autumn make by Sew Confident Dundee owner, Sandra. You don’t even need to own a sewing machine as this could all be done by hand sewing. Not only does this make a cute pin cushion, we think a few massive one as seasonal home decorations would look so lovely – and save the mess of pumpkin carving!
To complete this project you will need:
- fabric (Sandra used 2 x 6” squares, Feel free to make this as large or as small as you like)
- stuffing or fabric scarps to go inside
- embroidery thread
- A button
- needle,
- long needle
- scissors,
- felt for the stock (1” x 4”)
- glue for the felt
Let’s get crafting!
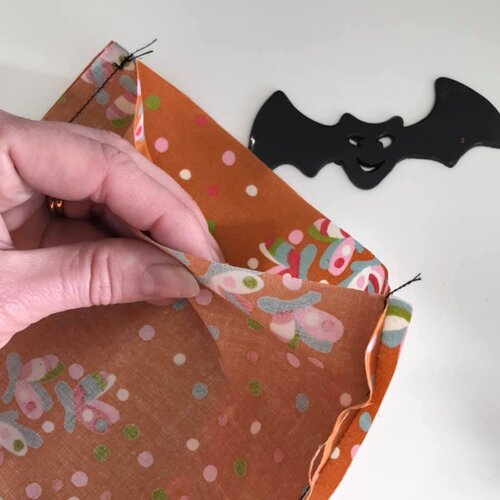
- Sew the 2 x 6” squares together along two opposite sides – right sides of fabric together.
- Using your needle and embroidery thread sew a wide gathering stitch around the bottom of your pumpkin fabric (ie if your fabric has a directional print sew round the bottom edge). Knot the end of your thread so you don’t pull it through as you go.
- Pull in your stitches tightly and secure by sewing a few more stitches to hold it in place – knot to finish.
- Turn your fabric right sides out.
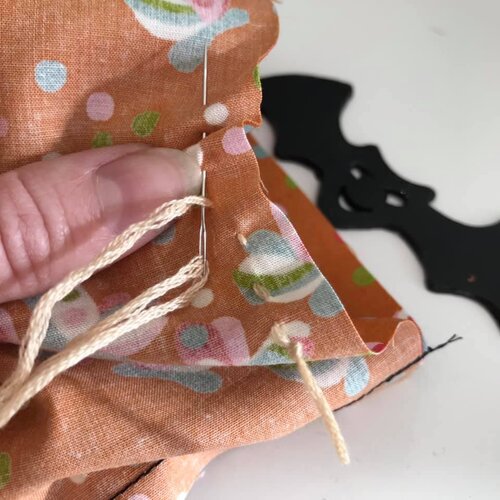
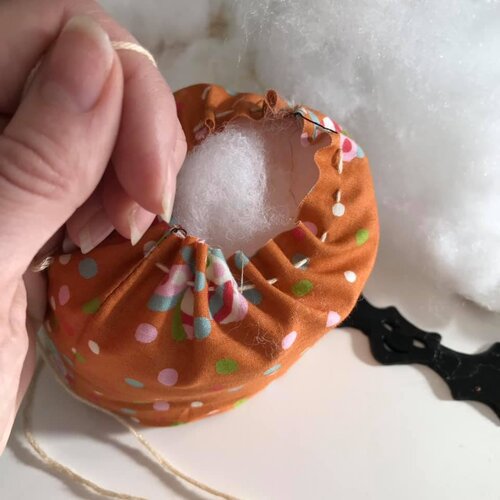
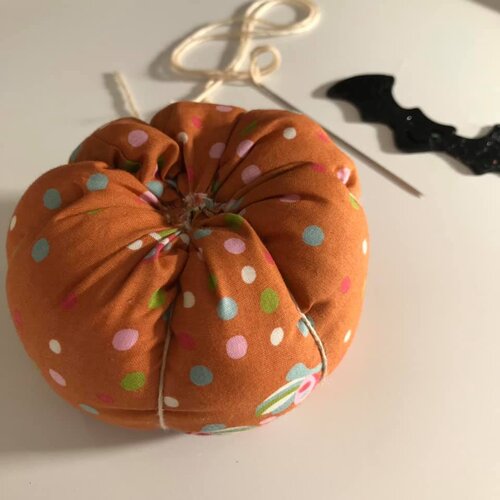
- Start another row of gathering stitches around the top of the pumpkin and gather slightly.
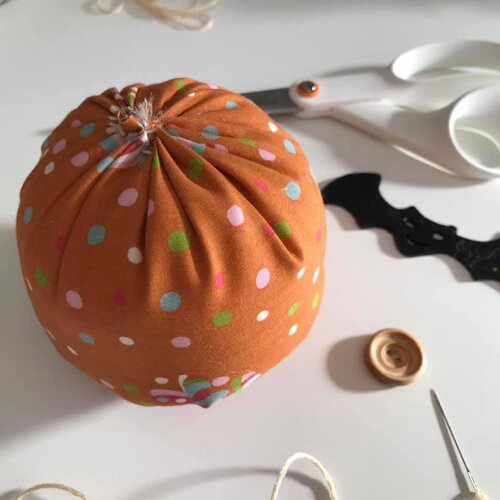
- Fill firmly with stuffing (if you don’t have stuffing you could use scraps of fabric, great at reducing waste too!), and gather the top edge together tightly and secure as before.
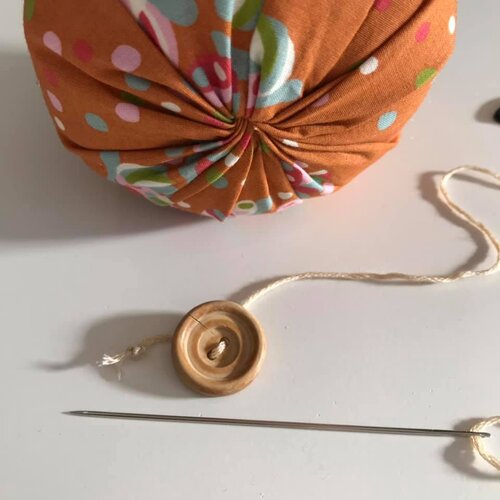
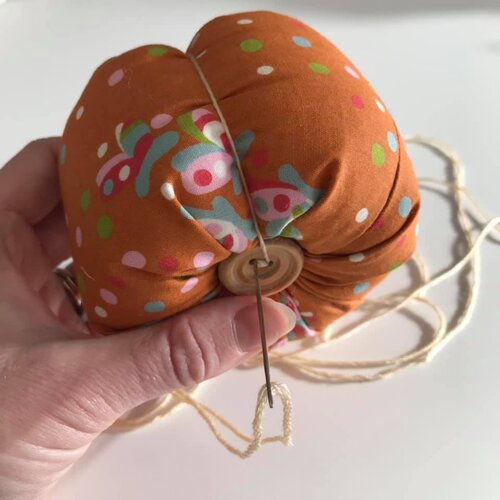
- Get your embroidery thread, long needle (Sandra used a doll needle) and button.
- Knot one end of your thread at the back of the button and go through your button holes a couple of times to secure.
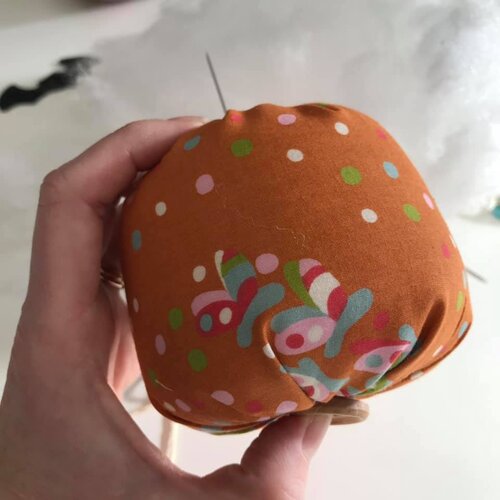
- Your needle should go through from the bottom of the pumpkin to the top – pull tight until your button is pressing against the fabric.
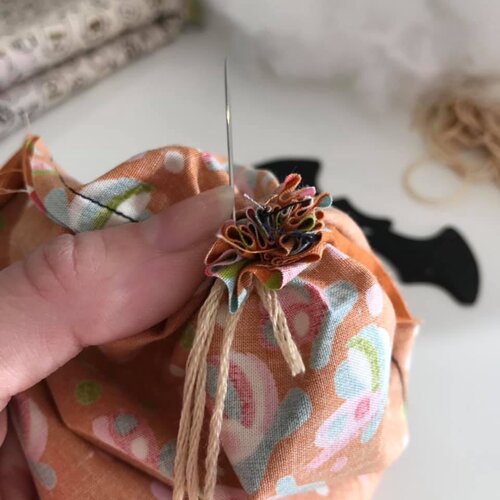
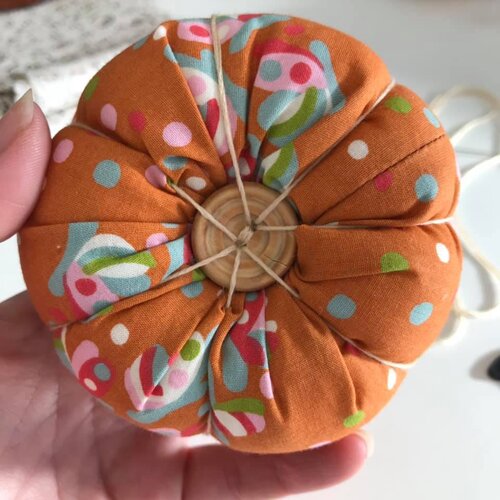
- Take your needle and thread over the edge of the pumpkin from top to bottom pulling tight to get that nice dented shape.
- Continue around the edge five or six times, finally coming out the top and securing with a knot through the fabric.
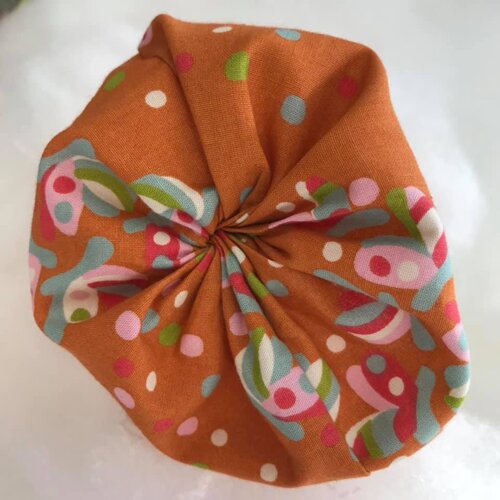
- The bottom will look like a starfish with the button in the middle. You don’t need to use a button but Sandra felt the knot kept popping through to the inside of the pincushion and this also added a bit of stability
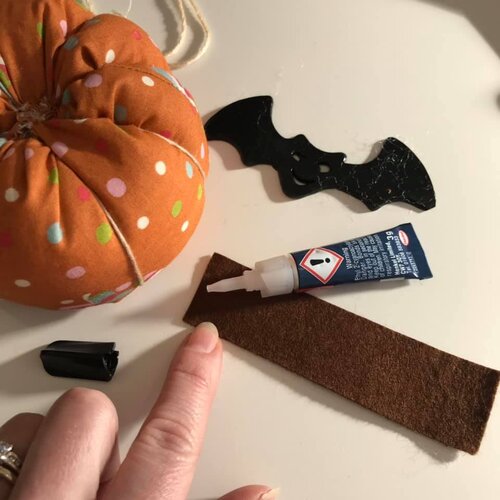
- For the stalk – take your felt and glue along one thin edge. Roll halfway and pop a little more glue on, keep rolling until the end then stick with another line of glue at the edge.
- Put some glue on one end of the stalk and some on the top of your pumpkin where the gathers are and stick down. Hold for a few seconds until it begins to stick.
- TA-DA, you have made your own little pumpkin pin cushion/autumn decoration!

Going to have a go making your own? Be sure to tag us @sewconfident & use the hashtag #SewConfident so we can check out your fabulous makes!
Other news
Meet the Maker: Birgitta Helmersson
Get to know the zero waste master a bit better with us! Birgitta Helmersson is a Swedish-Australian designer currently based […]
PUFF AND PENCIL AT SEW CONFIDENT
Fashion forward Scandi styling- say hello to PDF patterns by Puff and Pencil! Grab your cuppa and settle in, ’cause […]
LIBERTY FABRICS X BRIDGERTON COLLECTION
IN OUR REGENCY ERA Hello Sew Confident sewists! Ready to be swept off your feet and into a world of […]