Popular posts
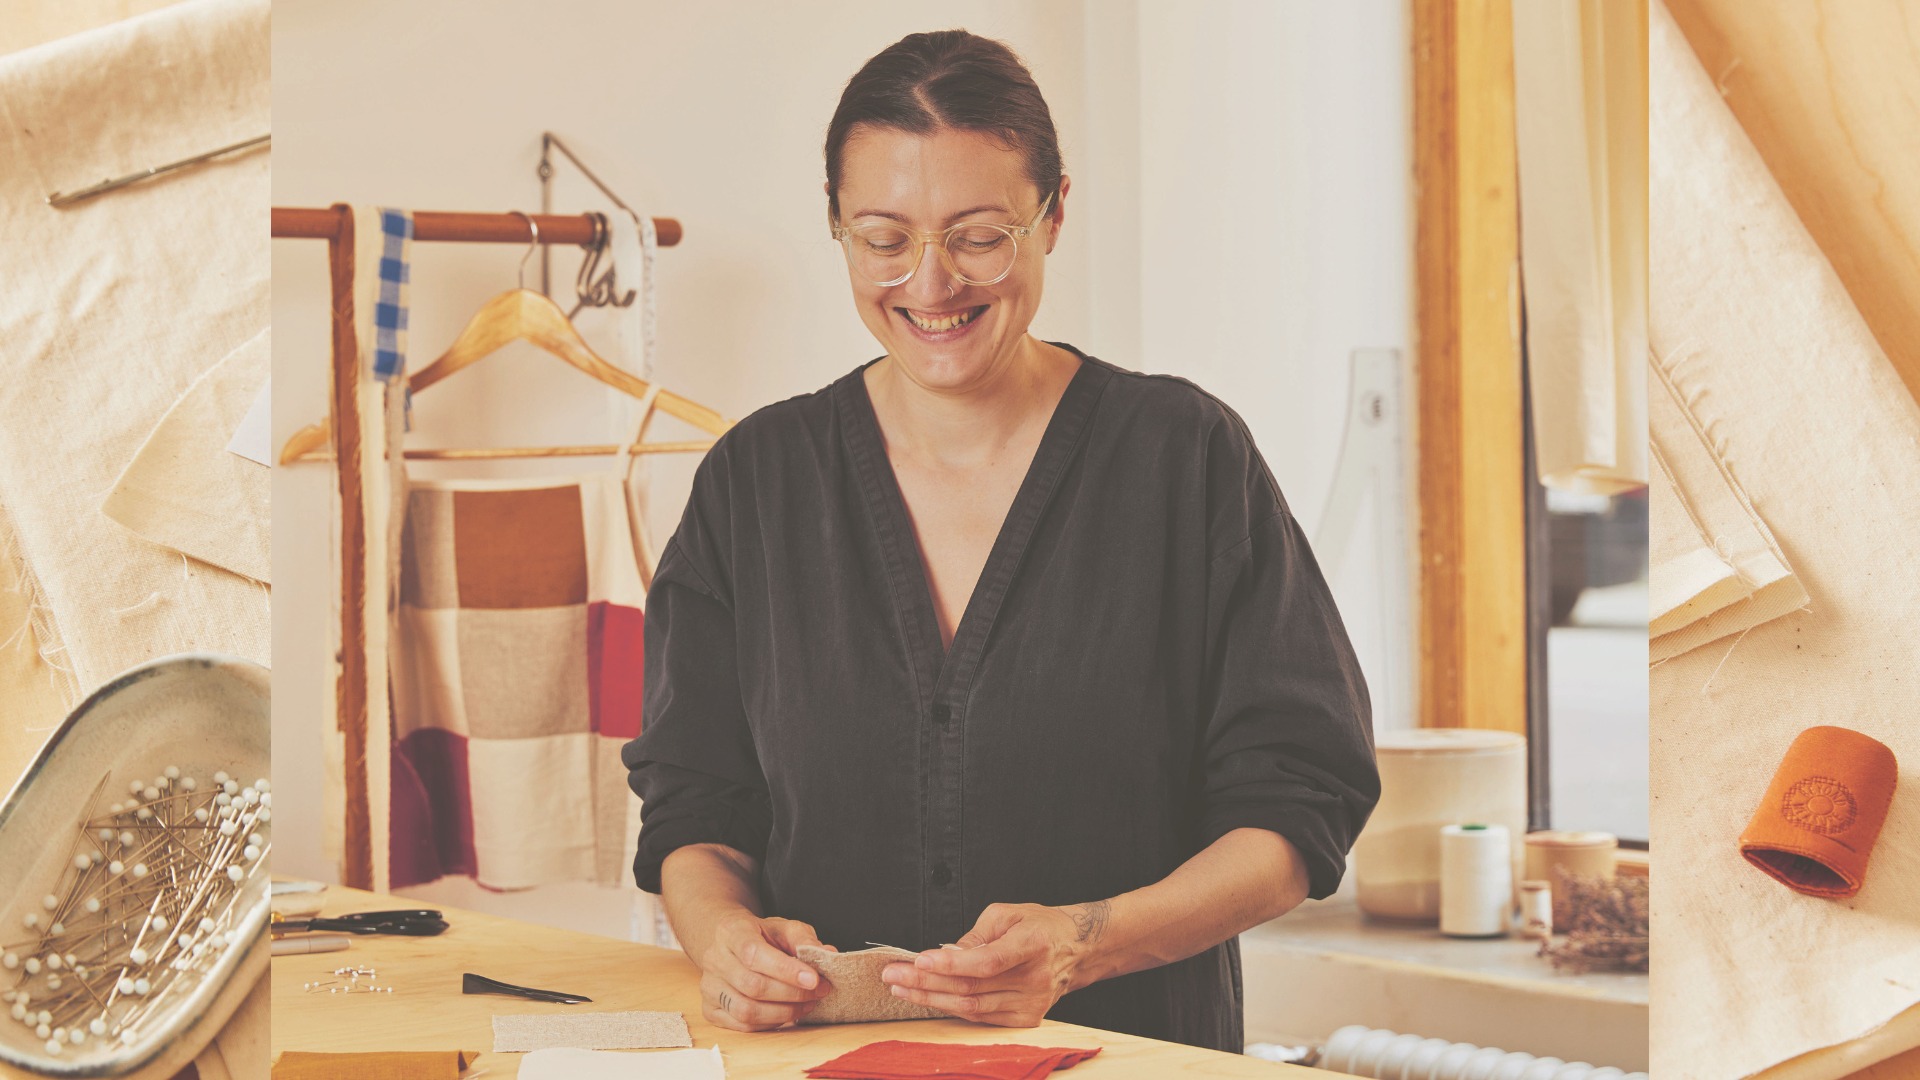
Meet the Maker: Birgitta Helmersson
26 July, 2024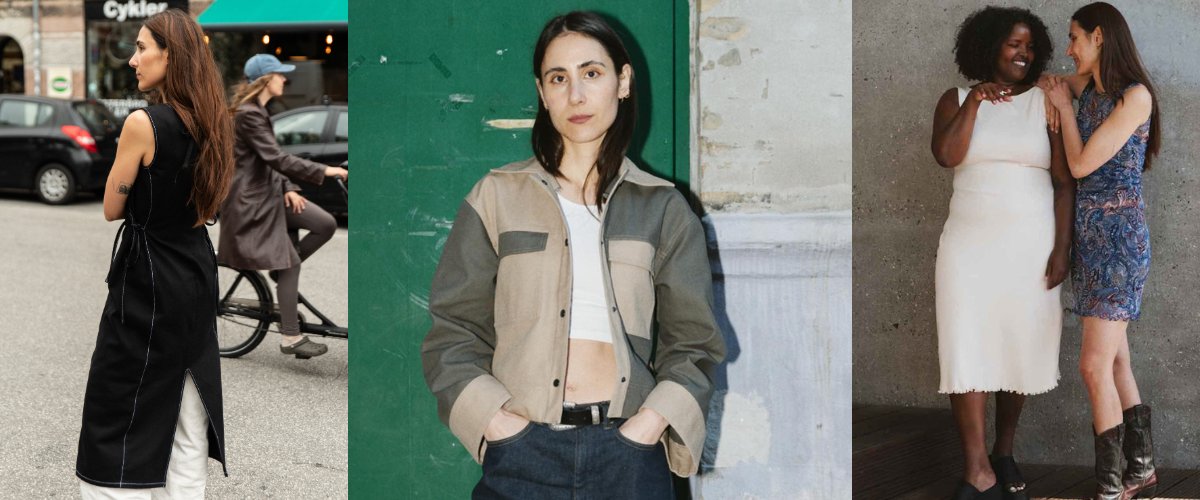
PUFF AND PENCIL AT SEW CONFIDENT
11 July, 2024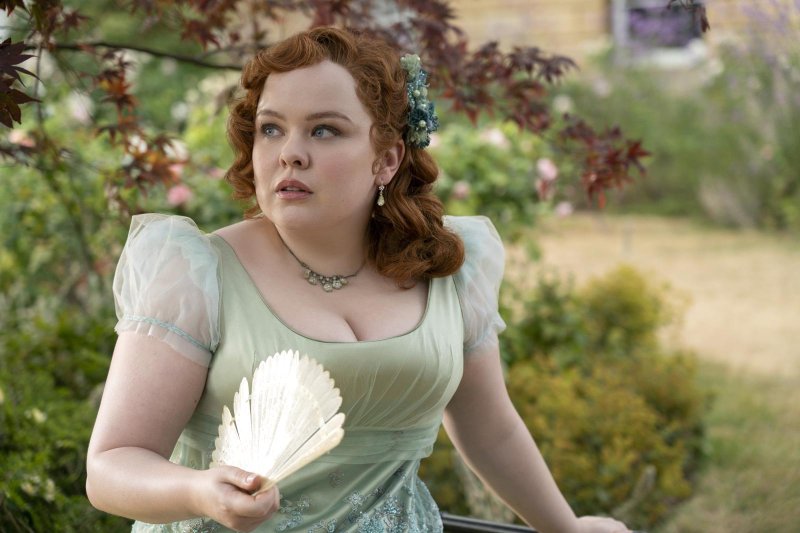
LIBERTY FABRICS X BRIDGERTON COLLECTION
1 June, 2024Part one – The duffle bag
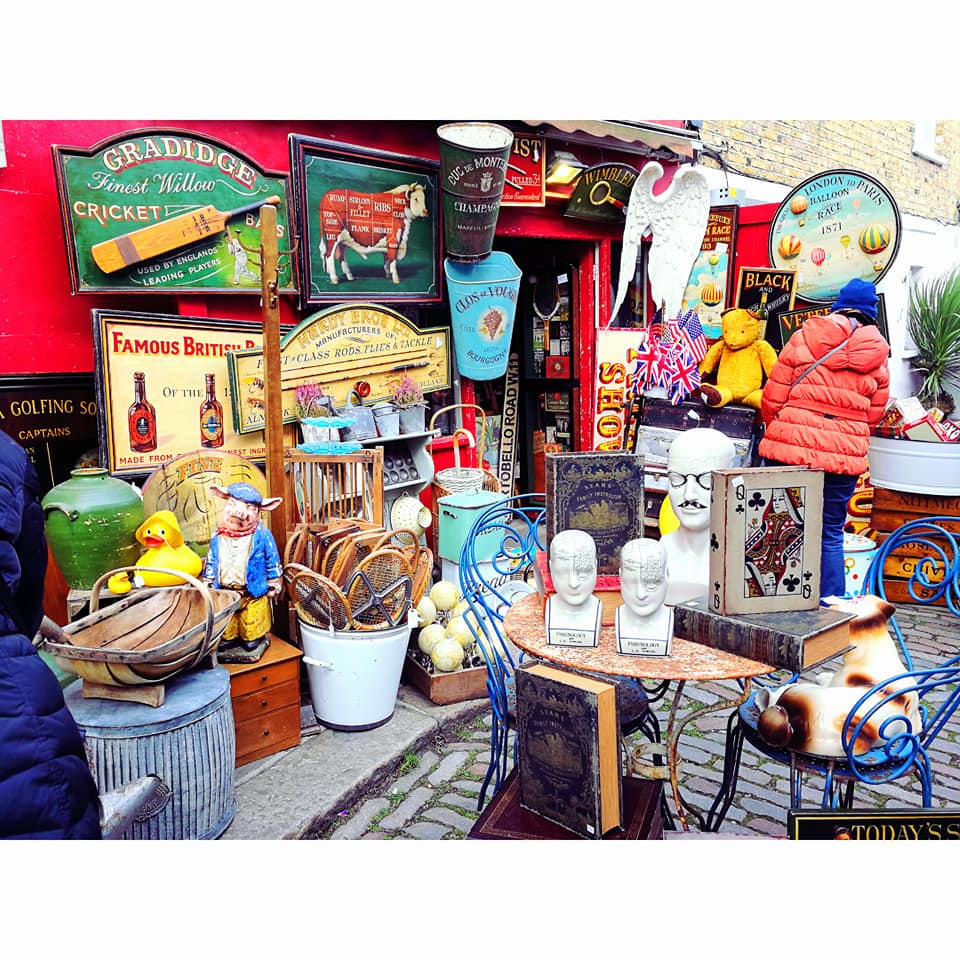
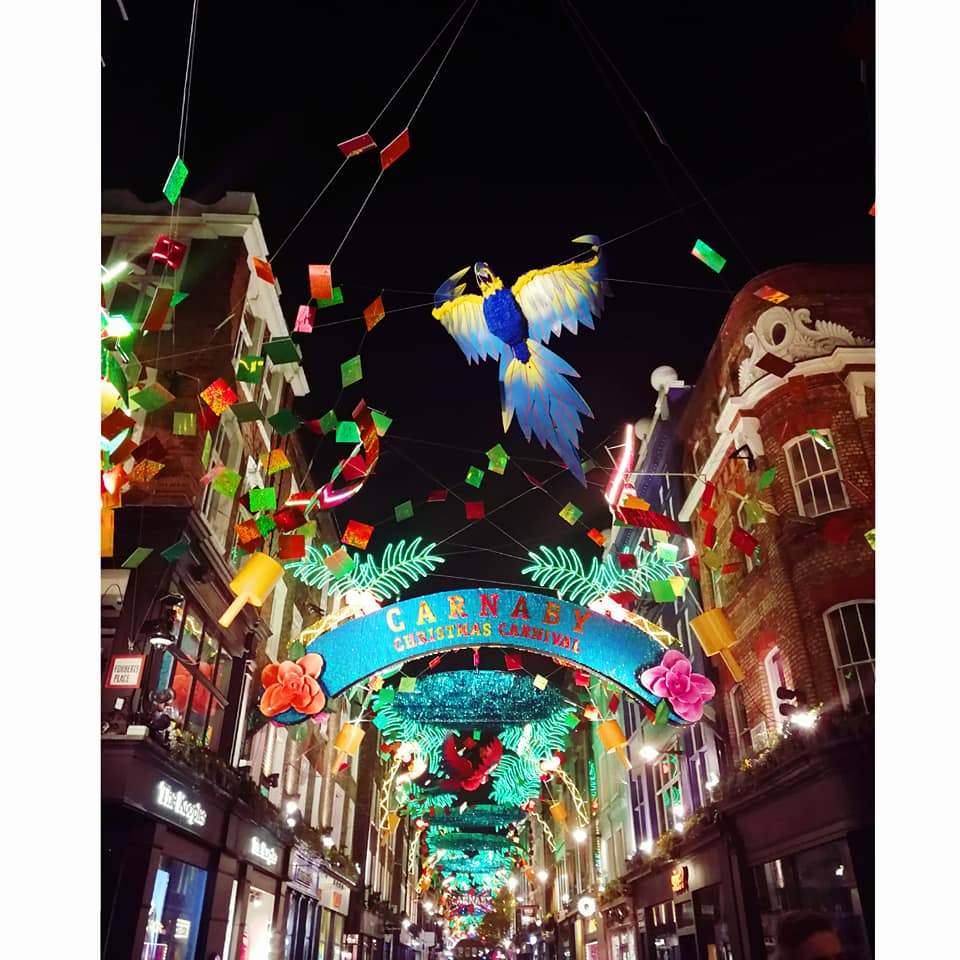
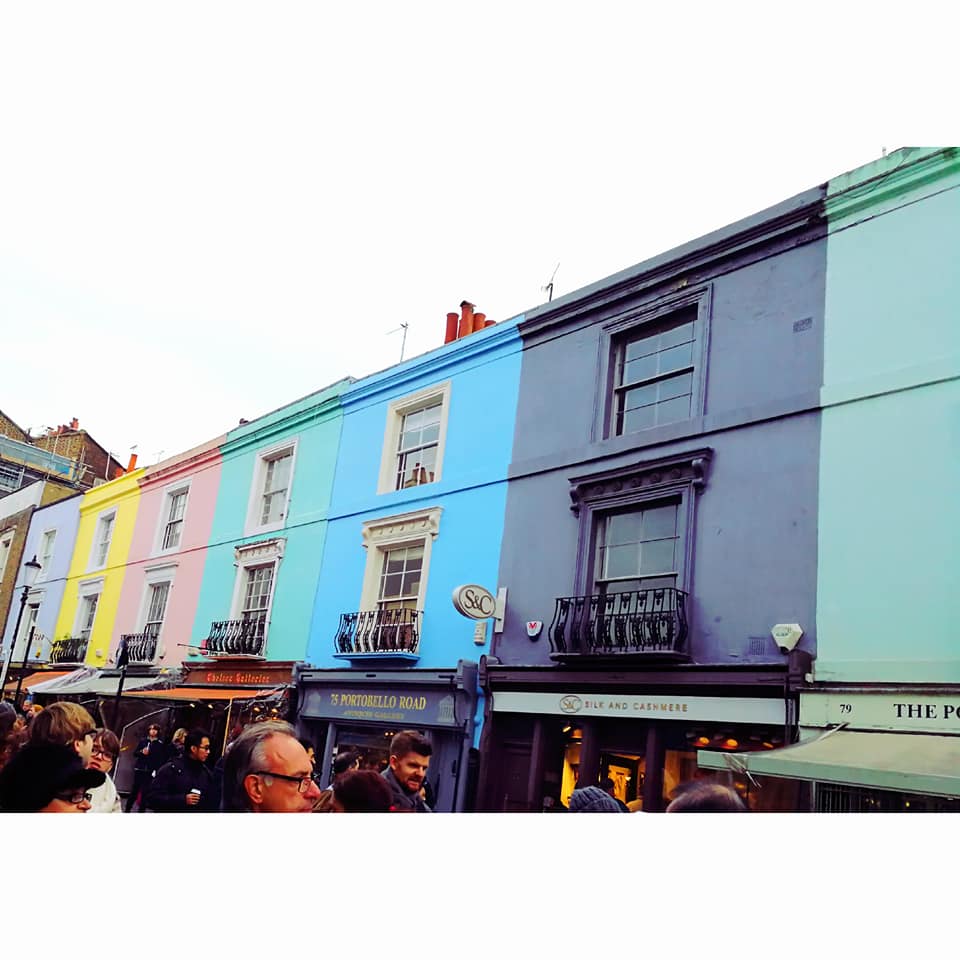
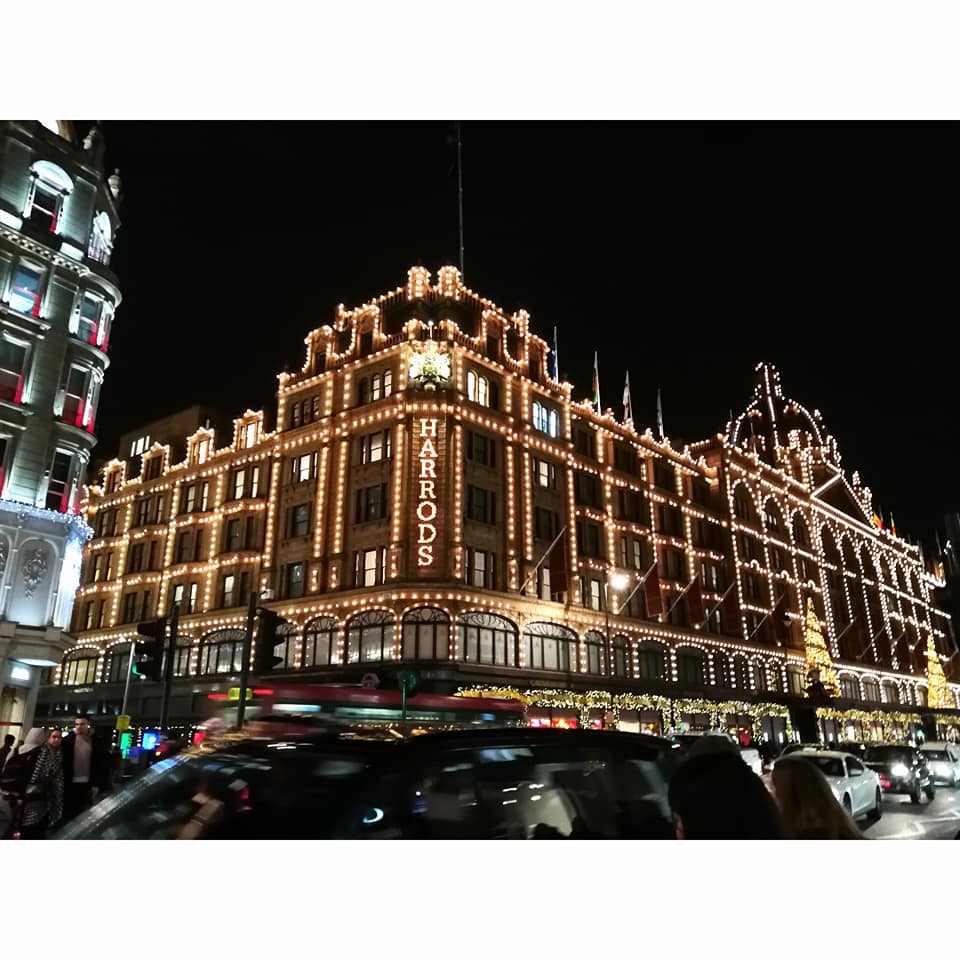
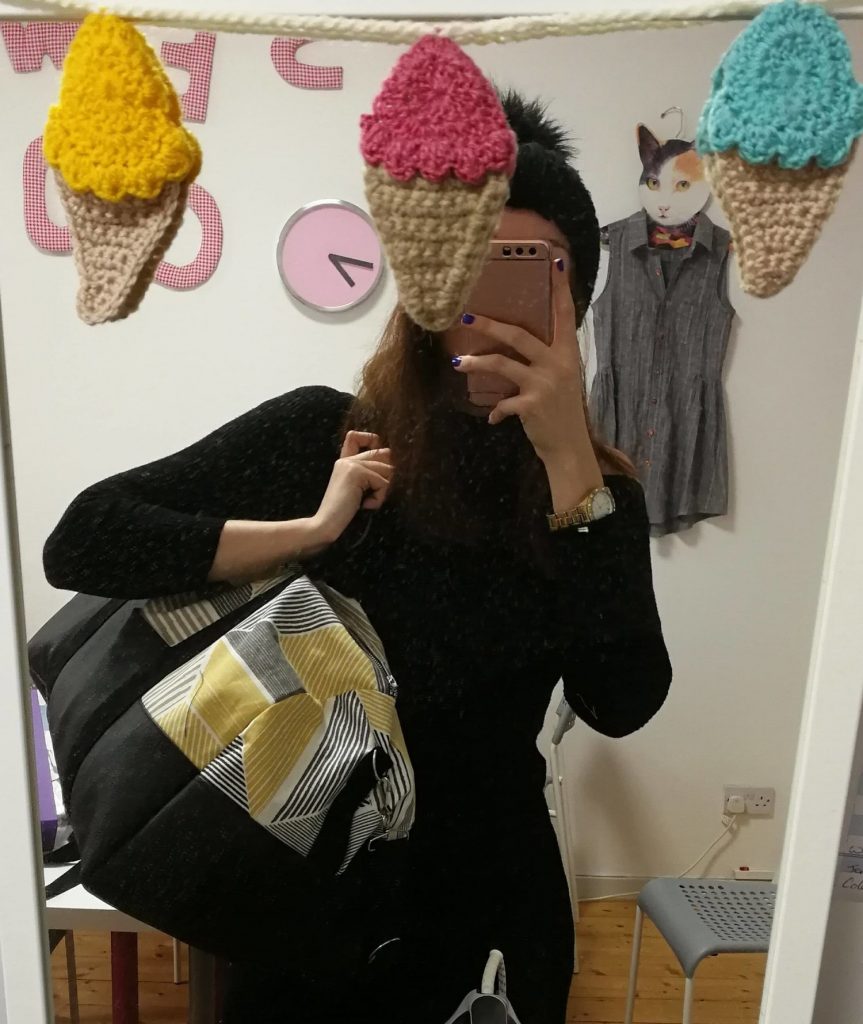
OK SO, I may have missed a week or two of updating the sew-along…I was away gallivanting in London & we have been super busy in the studio!
I also feel a lot of people won’t have started this sew along..may that be due to total FEAR/feeling they aren’t good enough to do it OR Christmas is approaching super fast so it is understandable that everyone is very busy!
WELL I AM HERE TO TELL YOU ALL THAT YOU 110% CAN DO THESE SUPER PROFESSIONAL LOOKING BAGS!
1.FINISHING THE DUFFLE BAG
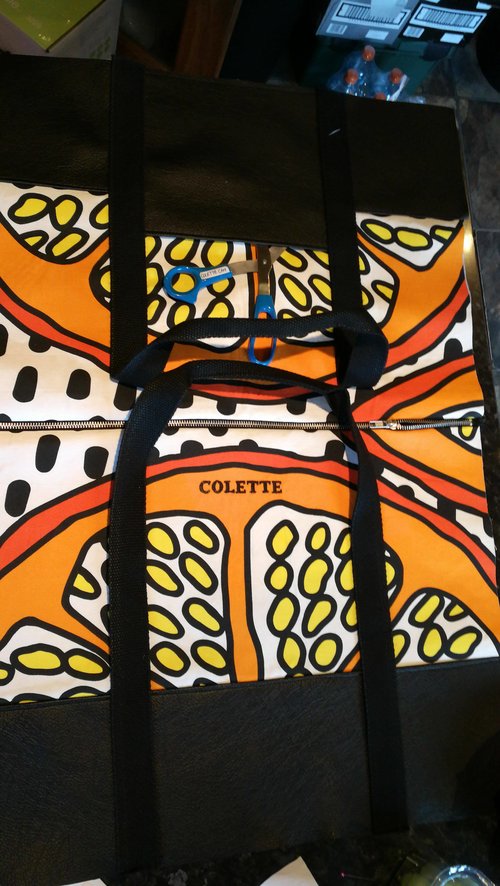
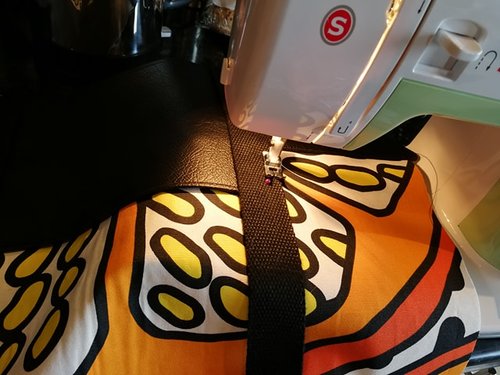
So on the last blog post I had an almost finished duffle bag..we done the hard bit of putting in the zip, attaching the straps & panicing that our machine wasn’t going to handle all the layers of the fabric (Which it handled perfectly fine!)
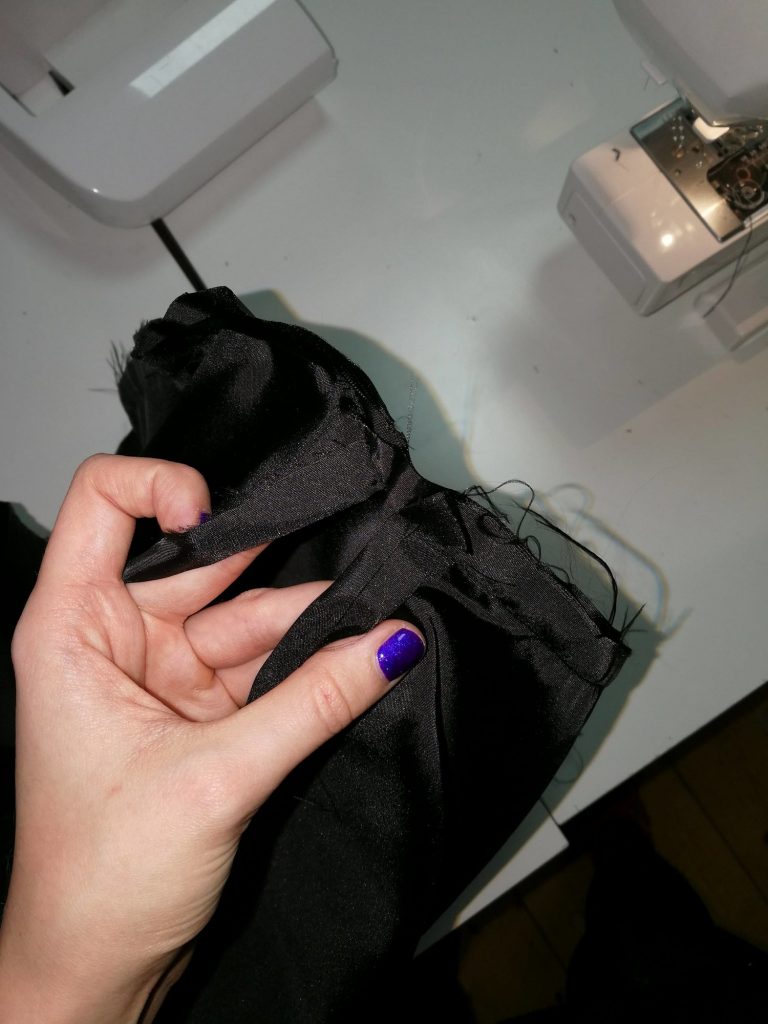
The last steps to complete the shell of the duffle bag is to attach the ends and the base. Problem numbero Uno – sewing curves is NOT fun. I am a total perfectionist so wanted to make sure the curves on both ends of my bag were the same, the easiest way I have now decided to sew the curves etc is to 1. Pin notches and important areas. 2. Have the curves pieces of fabric on the bottom so you can see/it is easier to fit the straight top fabric into the required area!
I know I am not the best person at explaining things but I feel the instructions are decent for this pattern & the main thing you need when doing it is CONFIDENCE! So lets skip to my pictures…
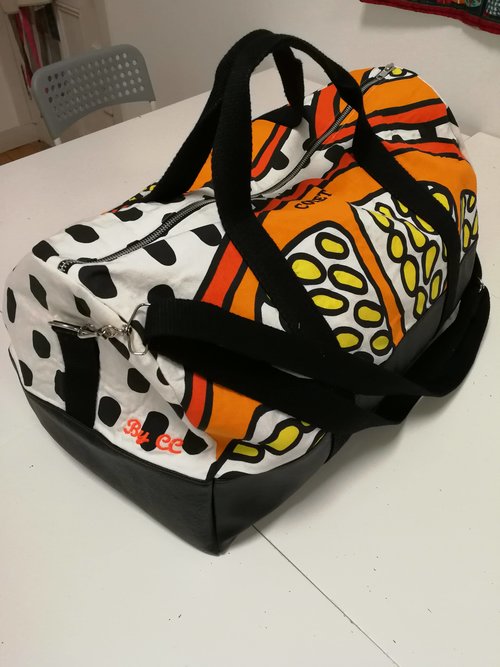
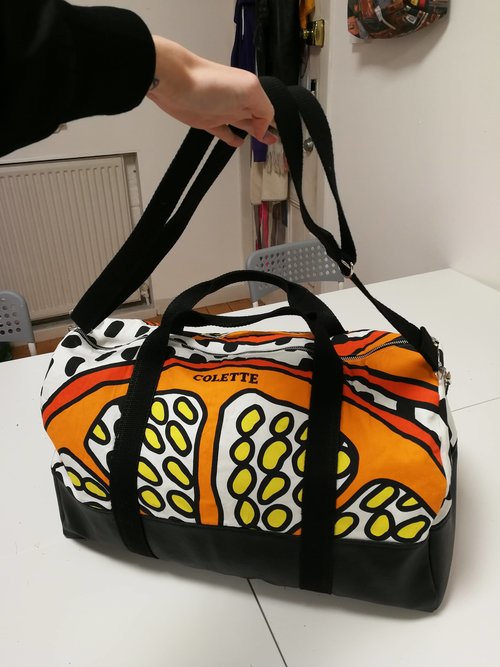
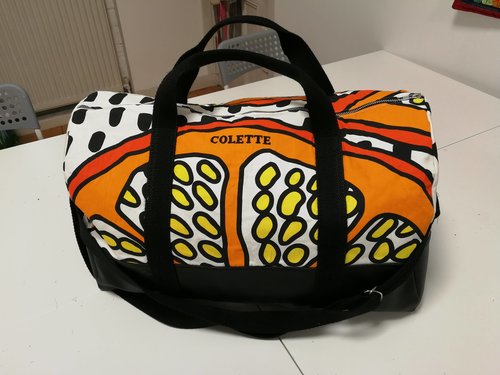
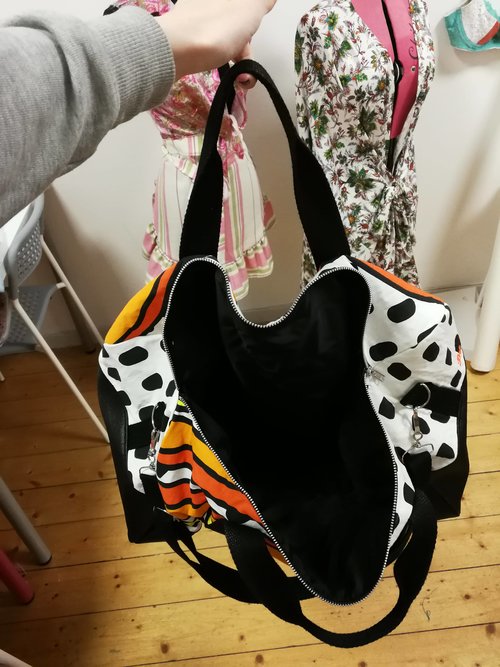
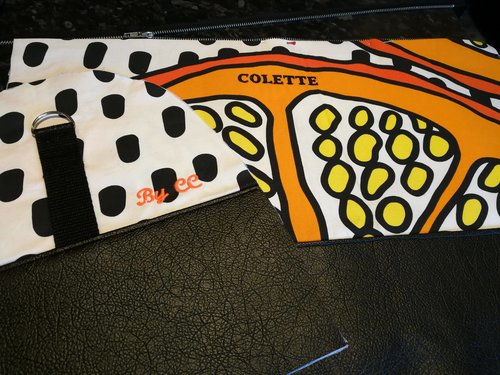
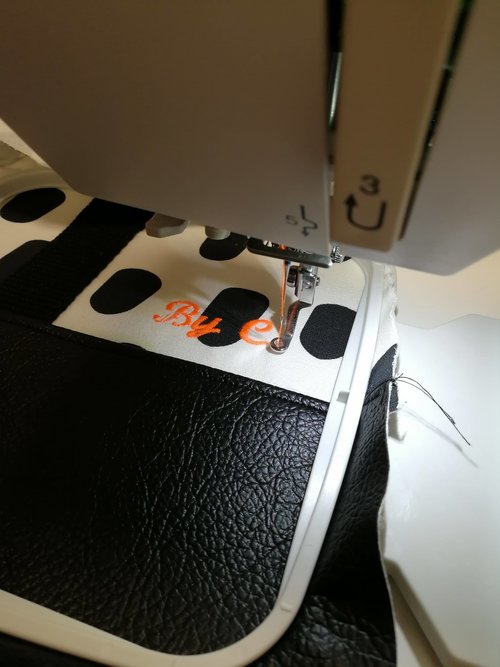
Now if this isn’t the COOLEST BAG EVER I don’t know what is…joking! But I honestly am so so happy with how this turned out. I even used our new embroidery machine in the studio to personalise it to give it an extra professional finish. I also decided to only go for one pocket on this bag as I wanted as much of the colour to be showing as possible.
After making two duffle bags I have decided that next time (because i’m 100% making everyone I know one of these for Christmas/Birthdays) I would get thicker iron on interfacing as I feel that unless stuffed it is still a bit saggy & doesn’t look its best!
The sew-along is all about bringing all us sewing lovers together and helping/showing off to each other our great talent!! I hope everyone, or at least one person hahaha, joins in & challenges themselves to make this great travel kit!! For those of you that are going to create your own bags, make sure you tag us in any photos/videos on any of your social media and use the hash tag #SCsewalong !
Other news
Meet the Maker: Birgitta Helmersson
Get to know the zero waste master a bit better with us! Birgitta Helmersson is a Swedish-Australian designer currently based […]
PUFF AND PENCIL AT SEW CONFIDENT
Fashion forward Scandi styling- say hello to PDF patterns by Puff and Pencil! Grab your cuppa and settle in, ’cause […]
LIBERTY FABRICS X BRIDGERTON COLLECTION
IN OUR REGENCY ERA Hello Sew Confident sewists! Ready to be swept off your feet and into a world of […]